How to Deliver Photos to Clients Professionally (2026 Guide)
Sending photos to clients shouldn't be stressful. This guide shows the professional way to deliver photos — private client galleries, secure links, download tracking, and automatic reminders that save hours every month — using 4ShootOps.
/ The short answer
To deliver photos to clients professionally, don't email ZIP files. Put the edited set in a private, branded gallery, share it with a secure link (optionally passcode- or code-protected, with an expiry date), and track views and downloads so you know the client received their photos. 4ShootOps does all of this in one place — and the files stay in cloud storage you own and control.
Quick Summary
- Goal: a reliable, fast, and professional photo delivery workflow clients can't mess up.
- Core steps: Set up the shoot → Upload the edited photos → Share a private gallery → Protect access → Track views & downloads.
- Why 4ShootOps: purpose-built for photographers — branded client galleries, secure links, download analytics, and automatic reminders in one place, on storage you own.
Why Photo Delivery Is Still a Problem in 2026
Even today, many photographers cobble together email attachments, ZIP archives, and generic file-sharing tools. The result is a brittle process that confuses clients and costs you time. If you're searching for how to deliver photos to clients, you already know the pain points:
- File size limits: email caps are tiny; galleries and RAWs exceed them instantly.
- Compression & loss of quality: messaging apps shrink files and strip metadata.
- Messy experience: unstructured folders, unclear naming, no preview — clients get lost.
- Security & control: open links, no expiration, and no record of who accessed what.
- Follow-ups: "Can you resend the link?" is a classic time sink.
4ShootOps is built to end this "DIY delivery" phase: branded client galleries, access control, and a simple delivery workflow designed specifically for photographers.
What to Look for in a Photo Delivery Platform
Before you choose a tool, evaluate it like a pro. A professional delivery solution should excel at:
- 🔒 Security & access control — passcodes, expiring links, optional one-time codes.
- ⚡ Speed & automation — upload once, share instantly, auto-reminders.
- 🖼️ Branded galleries — your identity and a clean viewing experience.
- 💾 Full-quality files — no compression, lossless downloads.
- 🧭 Simple navigation — clear thumbnails, search, and filters.
- 📊 Analytics — who opened the link, when, and what was downloaded.
- 🗄️ You own the storage — files live in your own cloud, not locked in someone else's platform.
- 🔗 Share photo link — clean links that work on any device.
4ShootOps was designed to meet these criteria for real-world photographers — weddings, families, portraits, lifestyle, and small studios.
Request an inviteHow Photo Delivery Works in 4ShootOps
The workflow is four moves: set up the shoot, upload the edited set, share a private gallery, and track delivery. Below is the high-level story — each step links to the documentation for the exact, always-current click-by-click walkthrough.
One-time setup: 4ShootOps runs on cloud storage you own (Wasabi, Backblaze B2, Cloudflare R2, iDrive, and more). Connect a bucket once and every delivery flows through storage you control. See Connect your storage →
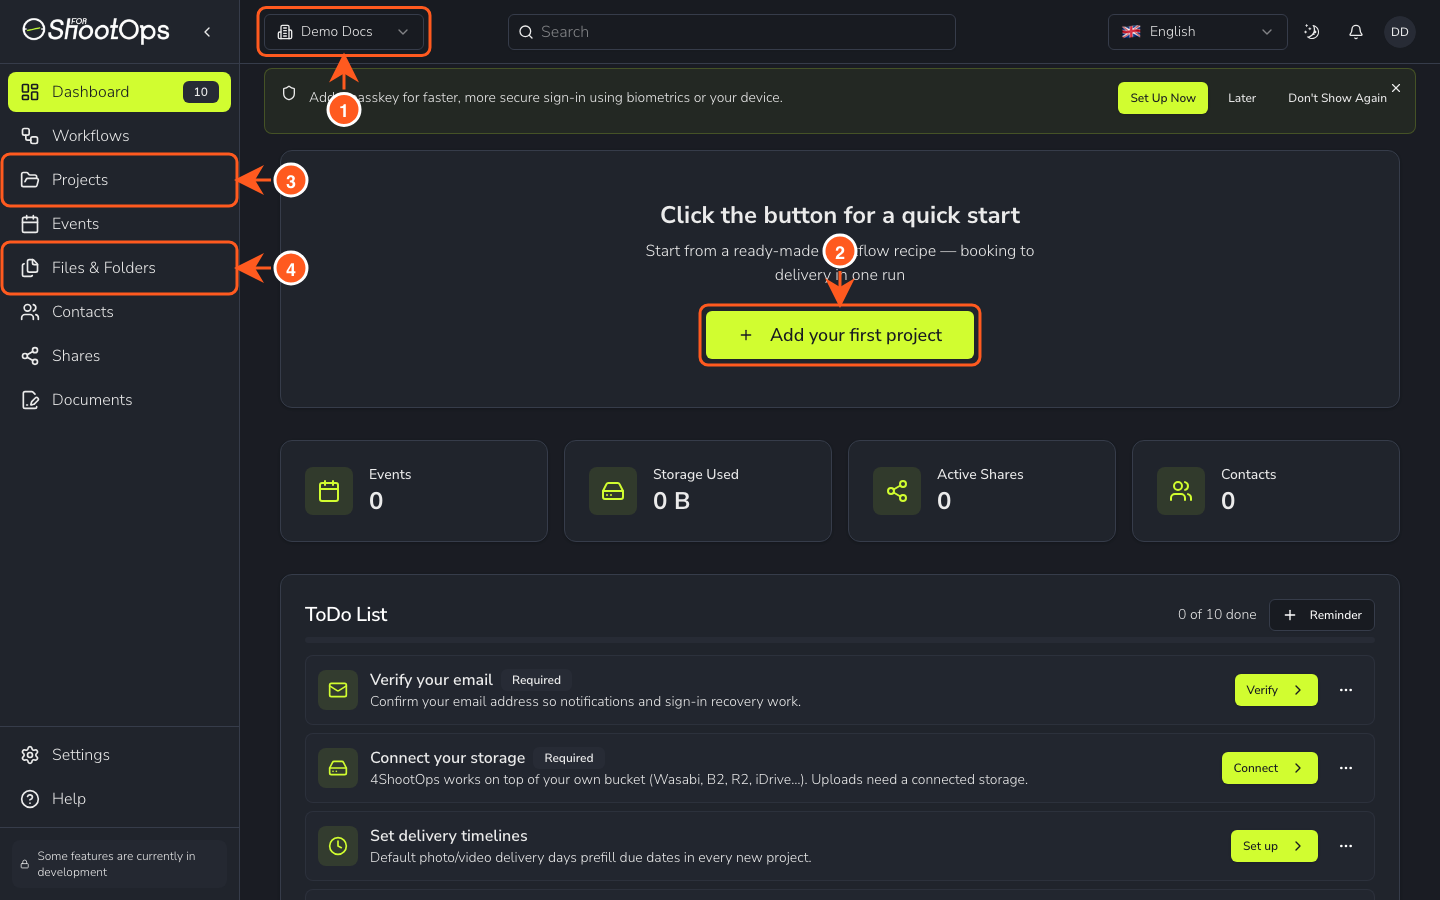
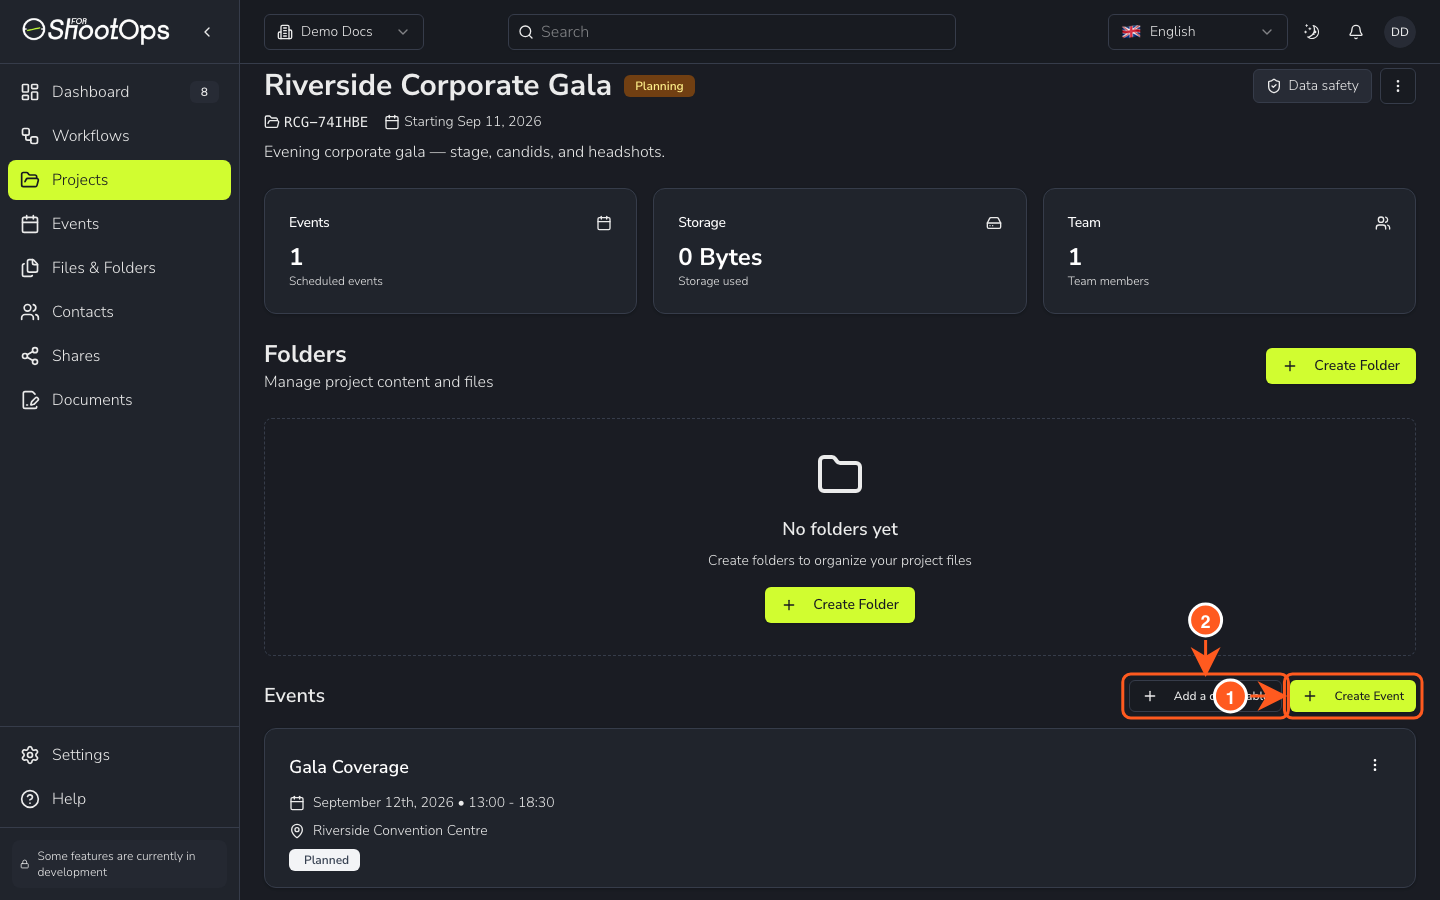
Set up the shoot as a project
A project keeps one client's shoot together — schedule, folders, team, and delivery in one place. Create it once and everything you hand off hangs off it. From the dashboard, a ready-made recipe can scaffold the whole thing — booking to delivery — in a single run.
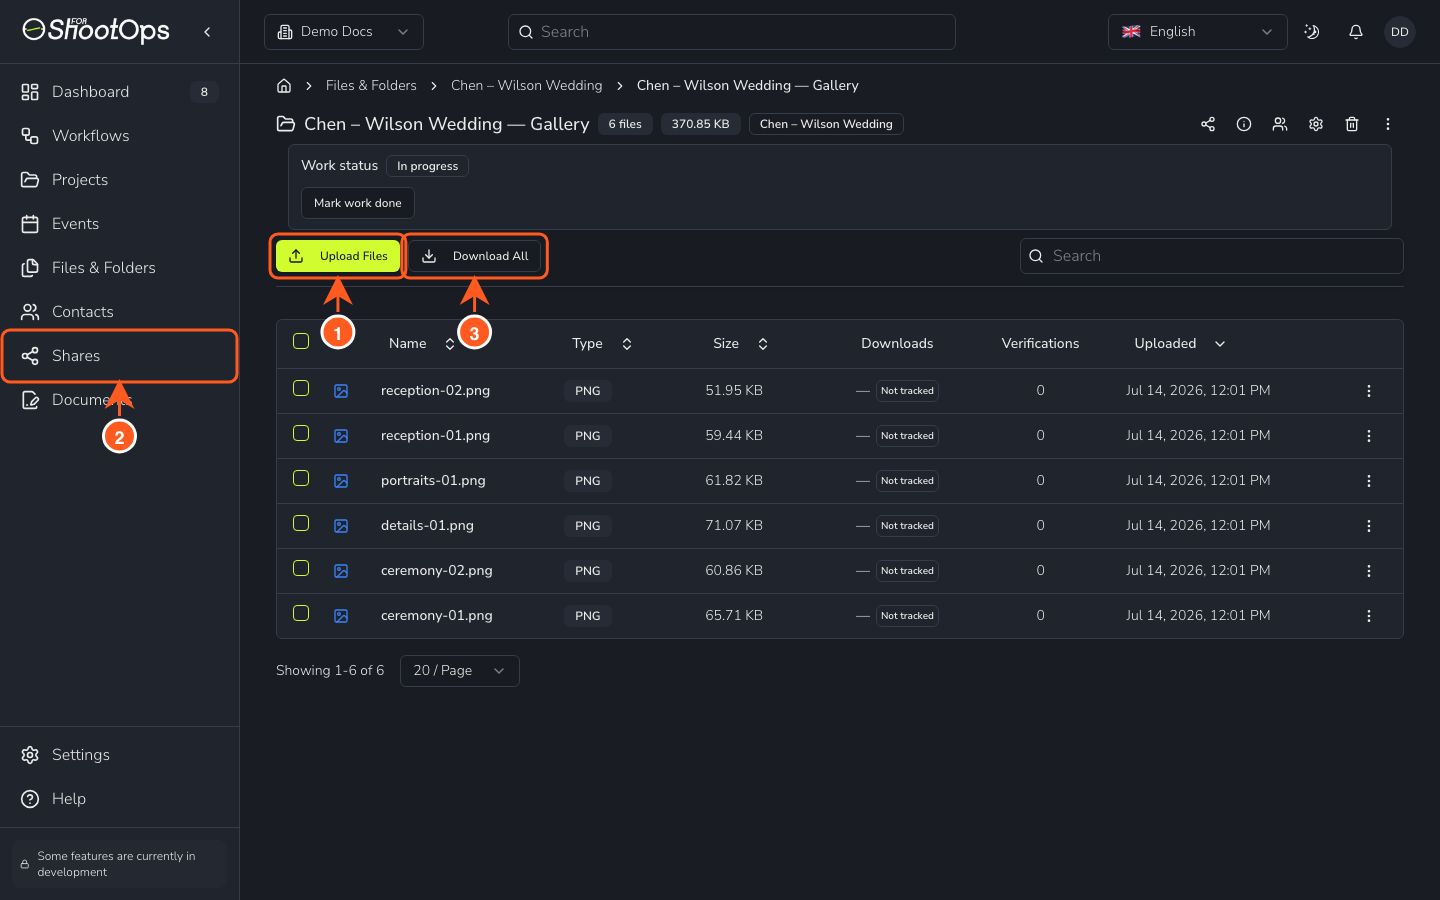
Upload the edited photos into a gallery folder
Drop your finished set into a folder on the project. Uploads are resumable and full-quality — no compression and none of the size ceilings email imposes. If your connection drops, the upload picks up where it left off.
Share it securely with your client
Turn the folder into a private client gallery in one click. Choose how the client opens it (a simple link, a passcode, or a one-time email/SMS code), exactly what they can do (view, download, comment), and when the link expires. Add a personal message so the hand-off feels like your brand.
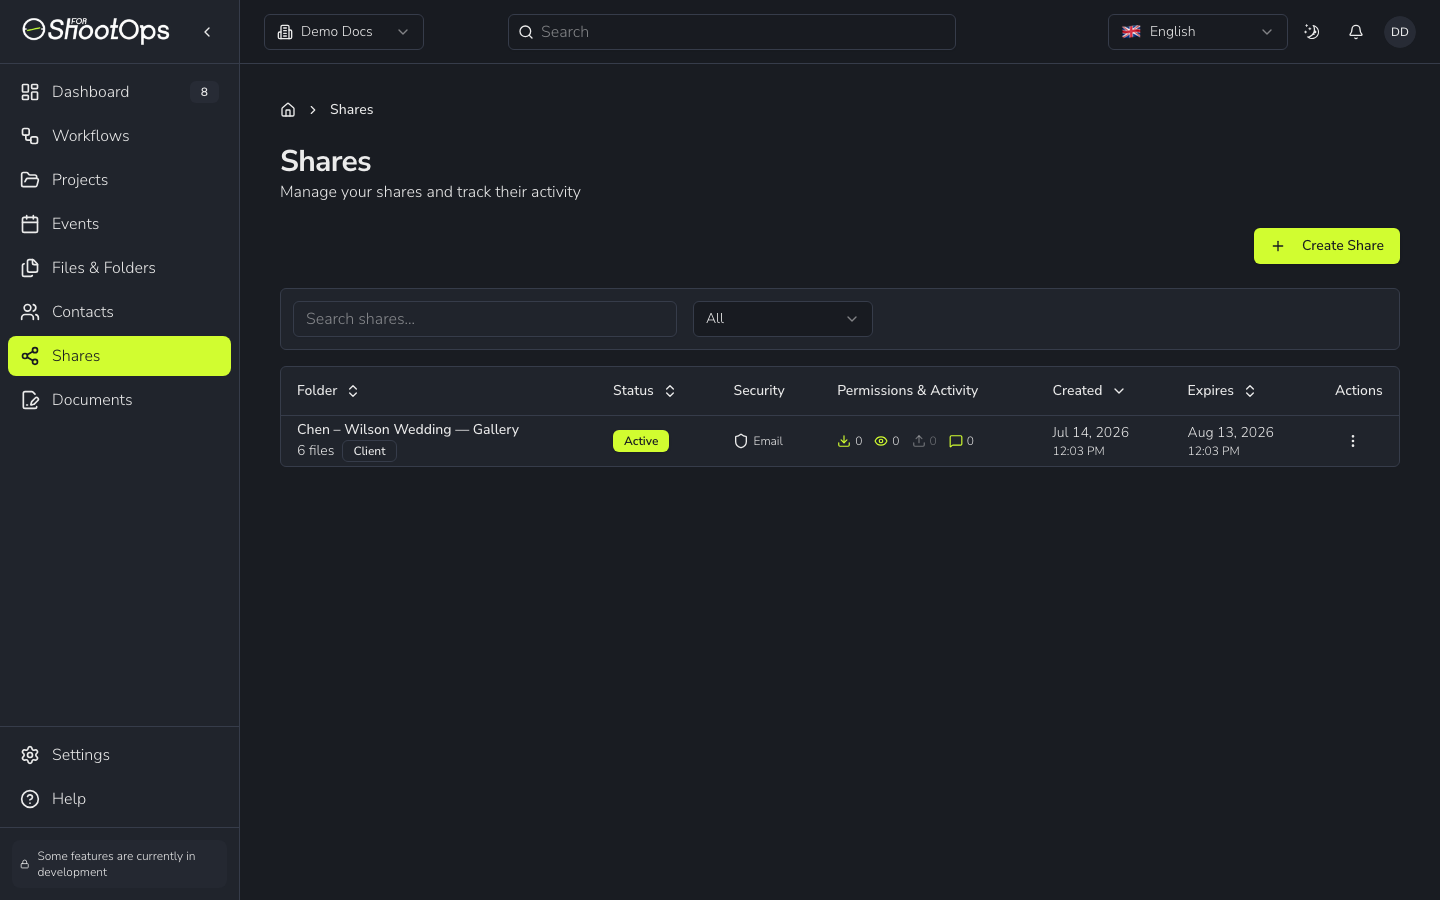
Track views and downloads
Every share shows real-time views and downloads, so you know the moment your client has their photos — and can reach out if a link sits unopened. Let automatic reminders and link expiry handle the follow-up while you focus on your craft.
Read the step-by-step: Sharing with clients →This guide stays high-level on purpose. The product evolves, so the precise steps and screens live in the documentation, which is generated from the live app. Follow the links in each step for the current walkthrough.
Ready to try it? Set up your first gallery and send a secure link in minutes.
Request an inviteWhy Choose 4ShootOps for Photo Delivery
Generic cloud drives and ad-hoc sharing tools weren't designed for photographers. 4ShootOps is a photo delivery platform tailored to your use cases — weddings, families, events, and small studio teams.
| Feature | 4ShootOps Advantage |
|---|---|
| File size | Large galleries and RAW-friendly handling without surprise limits. |
| Security | Passcodes, expiring links, optional one-time codes, and an access record. |
| Analytics | Real-time tracking of views and downloads for every gallery. |
| Permissions | Granular control over downloads, uploads, comments, and metadata visibility. |
| Ownership | Your files stay in cloud storage you own and control — no lock-in. |
| Automation | Auto-reminders, analytics, and simple share workflows. |
| Simplicity | Upload → Share → Done. A clean experience for you and your clients. |
💡 Pro Tip: Add a custom message and a short "how to download" line to every gallery. Clear communication cuts support questions and makes the hand-off feel effortless.
Make delivery part of your brand — consistent, secure, and beautiful every time.
Explore Photo Delivery FeaturesCommon Mistakes to Avoid
- ❌ Emailing ZIP archives. Many clients can't open or trust them; attachments also get blocked.
- ❌ Using unstable links. One accidental unlink and your client is locked out during a deadline.
- ❌ No tracking. Without analytics, you can't tell if the client received or downloaded files.
- ❌ No security. Public links without passcodes or expiration dates create unnecessary risks.
- ❌ No expiration. Permanent links increase the risk of unintended sharing.
4ShootOps prevents these issues with a delivery experience that's built for clarity and control.
Tips for a Professional Client Experience
- Send a friendly intro: thank the client, set expectations, and include a "how to download" line.
- Use custom messages: personalize each gallery with context about the shoot.
- Organize by folders: separate Highlights, Full Gallery, and RAW Files into different folders.
- Set appropriate expiration: 14–30 days gives clients time without leaving links open indefinitely.
- Monitor analytics: check views and downloads to confirm clients received their files.
Want this experience out-of-the-box? 4ShootOps gives you secure galleries, analytics, and flexible permissions in minutes.
See PricingFAQ
What's the best way to send large image files to clients?
Share a private gallery link with full-quality downloads and an expiry date, instead of email attachments or ZIP files. It's safer than email, faster than ad-hoc file transfer, and far easier for clients — they open a link, view thumbnails, and download what they need.
How do I deliver photos to clients professionally?
Put the edited set in a branded, private gallery, share it with a secure link (optionally protected by a passcode or one-time code, with an expiry date), include a short personal message, and track views and downloads so you know the client received their photos. 4ShootOps does all of this in one workflow.
Can I deliver wedding photos and keep the original quality?
Yes. Upload full-resolution JPGs (or exports from RAW) and clients download the originals with no compression or quality loss.
Can I track whether clients downloaded their files?
Yes. Every gallery shows real-time analytics — views, downloads, and recent activity — so you have complete visibility into delivery status and can follow up if a link goes unopened.
Can I control what clients can do with the files?
Absolutely. Set granular permissions per gallery: allow or block downloads, uploads, comments, and file metadata visibility, and require a passcode or a one-time email/SMS code for sensitive deliveries.
Where are my photos stored?
In cloud storage you own and control — 4ShootOps connects to your own bucket (Wasabi, Backblaze B2, Cloudflare R2, iDrive, and more). Your files are never locked inside someone else's platform.
Advanced Practices for a Rock-Solid Photo Delivery Workflow
To further refine your process, standardize export presets, naming, and communication templates. Consistency reduces questions, shortens turnaround, and creates a predictable experience clients trust.
- Export presets: define JPG quality, long-edge dimensions, and color space once; apply on every job.
- Naming conventions: date + client + index — simple, searchable, and scalable.
- Email templates: write a friendly delivery message once; reuse and personalize per client.
- Proofing cadence: set expectations like "select favorites within 7 days."
- Backup policy: keep a local archive and a cloud copy; document retention periods.
💡 Pro Tip: Add a tiny "how to download" note at the top of your gallery for non-technical clients.
Example Delivery Email Template
Use this email as a starting point and adapt the tone to your brand.
Subject: Your Photo Gallery — {Client Name} — {Shoot Date}

Hi {Client Name},

Your gallery is ready! 🎉
Open it here: {Gallery Link}

To download: click the download icon at the top right.
To favorite photos: click the heart on each image.

This link is protected and expires in {X} days.
If you have questions, just hit reply — I'm here to help.

Thank you!
— {Your Name}, {Studio Name}
⚠️ Note: Always include the expiration reminder and your reply-to email.
Consistent Naming & File Organization
Consistent naming helps you locate assets quickly and reduces support. Use a pattern that scales:
- Folders: 2026-06-21_emily-ryan/ → highlights/, full-gallery/
- Files: 2026-06-21_emily-ryan_0001.jpg … 2026-06-21_emily-ryan_0450.jpg
- Social crops: place 1:1 and 4:5 exports in a social/ subfolder.
Conclusion
If you've been searching for how to deliver photos to clients professionally, the answer is a consistent workflow your clients instantly understand: a private, branded gallery, a secure link, download tracking, and automatic reminders. 4ShootOps gives you all of it in one place — on cloud storage you own.
Next step: set up your first shoot, upload your set, and send a secure gallery link. Then let the system handle the reminding while you focus on your craft.